Log Notifiers - NEW! 🚀
The Log Notifiers section of Data One is where you need to go to set notifications for any error or warning event that is registered in the Central Log. Once configured, the Log Notifier will send a notification for every event defined in the configuration to your preferred notification method.

Follow these steps to configure the Log Notifier:
- In Setup → Log notifiers, click the NEW button.
- In the New Log notifiers page, fill in the fields:
-
- Name (*): assign a name to the Log Notifier. Maximum 128 characters are accepted.
- Description: (optional) enter a description for the Log notifier you are configuring. Maximum 255 characters are accepted.
- Status: (optional) select the status of the activity. Possible options are:
- On: the configuration is saved and log entries are notified.
- Off: the configuration is saved but log entries are not notified.
- Configuration filters:
- Level (*): define which entries you want to be notified on: ERROR and WARNING.
- Module (*): select the module you want to monitor. 🚀 Choose STENG File Event Listener Engine or Ceman Filebox.
- Message code: select the message codes you want to monitor among those listed. For a complete list of all message codes of the File Event Listener and their descriptions, see the next page. Note that all message codes including INFO level codes which cannot be selected in this filter are listed.
- Additional filters:
- Add filters: select the additional filters for your notification configuration: Cluster, Node, Contract, Job and Workflow.
- Value: define either a Wildcard or a Regex to create the filter. Note that you can delete additional filters by clicking on the red bin icon next to the value field.
- Notification channel (*): select the notification channel for your notifications.

All filters in this section work in an AND logic. An AND logic means that you will be notified on the events that meet all the criteria set in the filters.
- When done, click the SAVE button.
The configuration will then appear in the following home page listing existing Log notifiers.
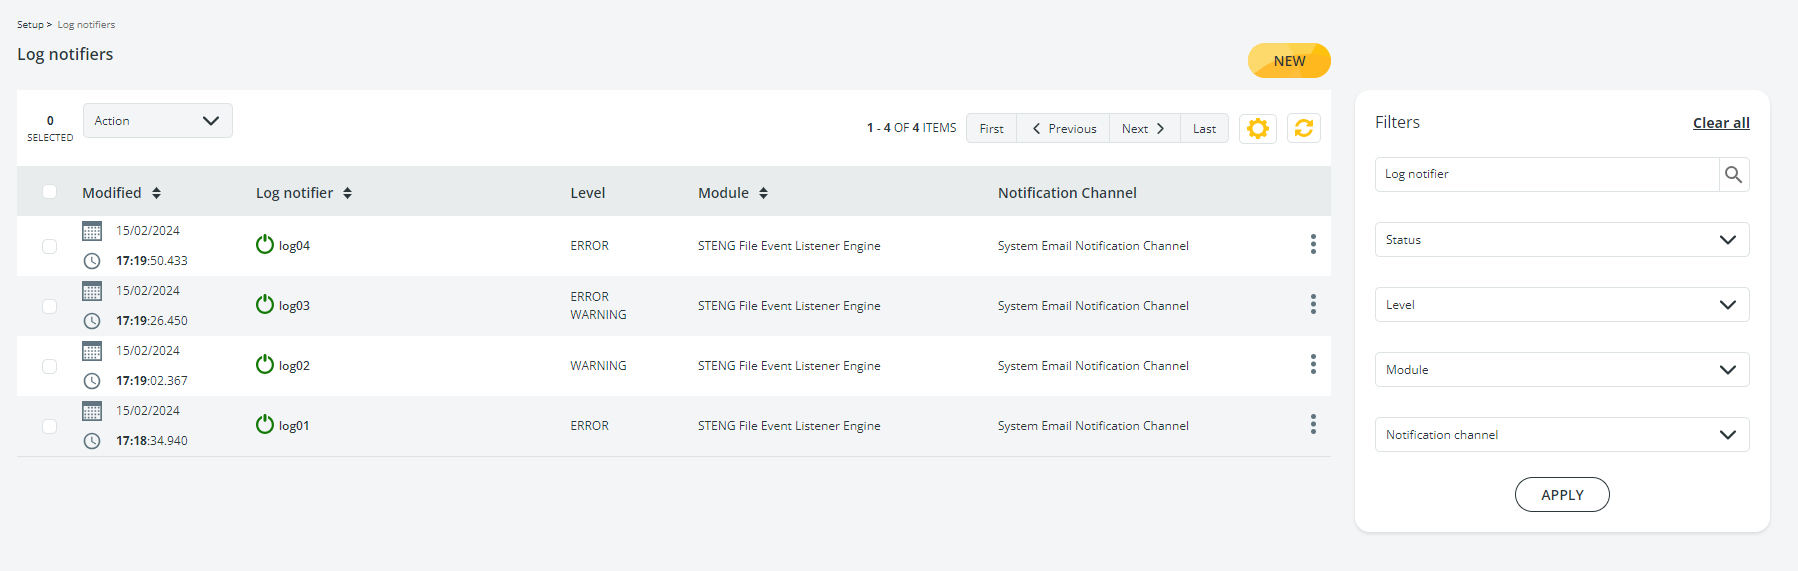
At the top of the list of results, a toolbar is available. Learn how to use it here.
Multiple activities can be Enabled or Disabled in one go simply checking the activity in the result list and then selecting Enable or Disable in the drop-down list. Checking the box on the left of the Modified column, all entries in the result list will be selected or deselected.
Clicking the 3-dots icon on the right of the row, the Disable, Edit and Delete options are available.
In the Filters panel on the right, you can filter results by:
- Name of the Log notifier
- Status (enabled or disabled)
- Level of the notified entries
- Module associated with the notified entries
- Notification channel
Updated 9 months ago