Configuring an Actor
This section will guide you through the configuration procedure of an Actor.

Wizard to ground control:
"Do not worry! The procedure to configure an Application is the same. But if you need to visualize it, follow this link."
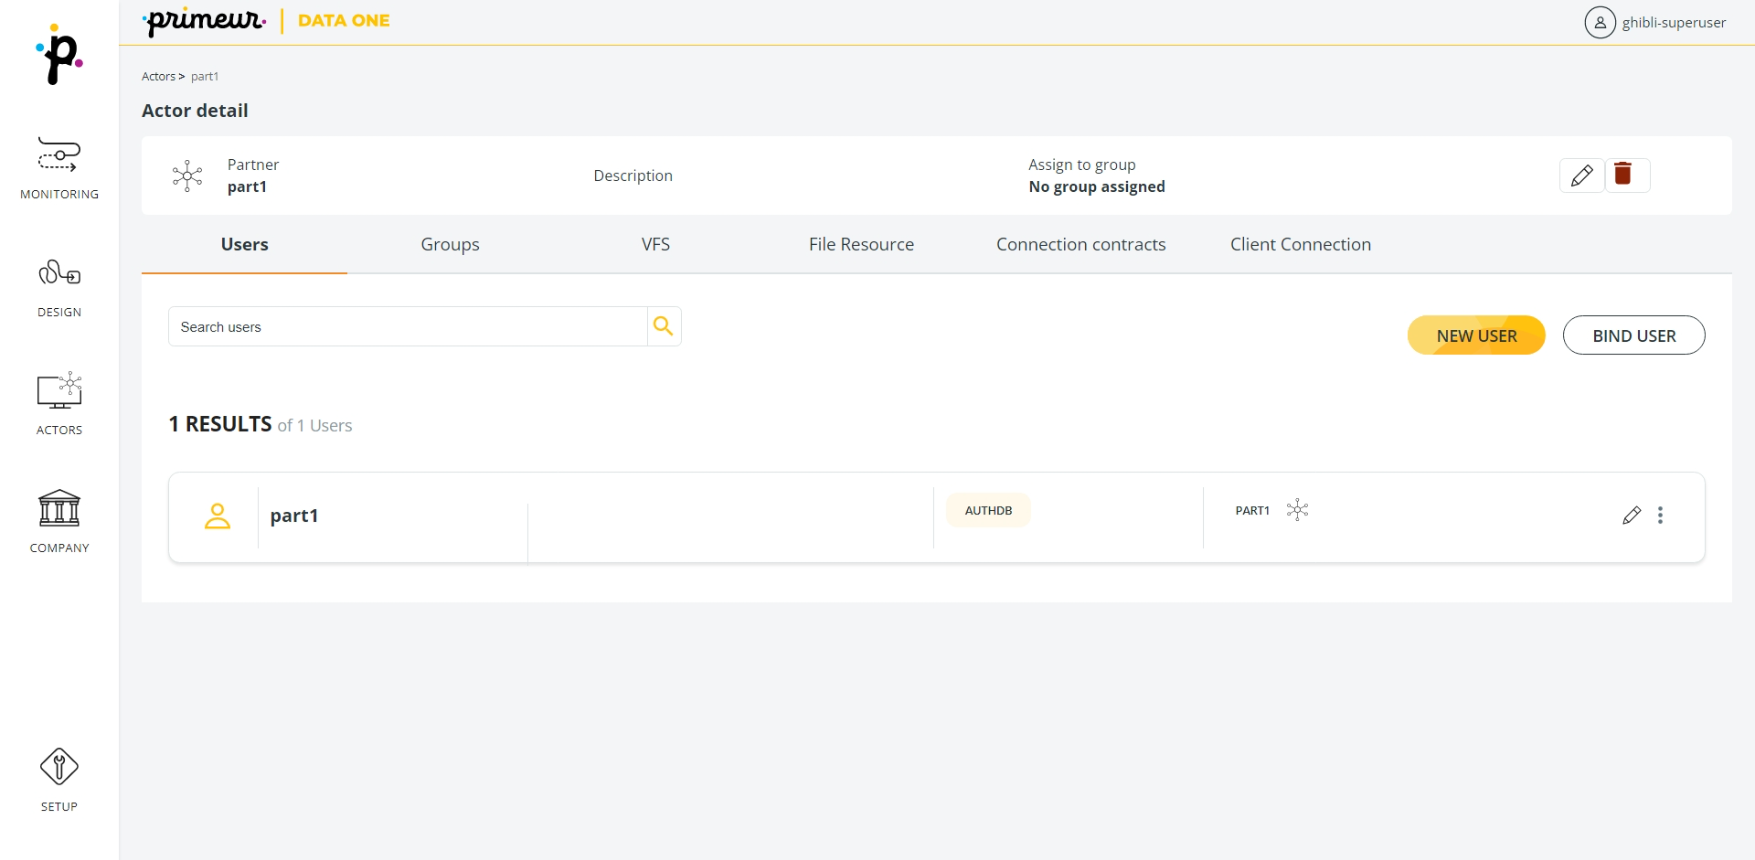
To start, either click the name of the Actor or the ![]() icon to the right of the Actor in the list of results and choose the Edit option. The details of the selected Actor will be displayed in a new page.
icon to the right of the Actor in the list of results and choose the Edit option. The details of the selected Actor will be displayed in a new page.

In the upper part of the screen, you will see the Image, Name, Description and "Assign to Group" of the Actor you have selected.
Remember that you can always Edit an Actor by clicking this ![]() icon or Delete it clicking this
icon or Delete it clicking this ![]() icon. You can find both in the upper part of the page.
icon. You can find both in the upper part of the page.
These are all useful reminders of an Actor's details.
And yet, the real configuration starts in the main section of the page.
The main section of the Actor page is divided into different tabs. Each tabs gives you access to different configuration options. Here they are:
- Users: to create and manage the users assigned to the Partner.
- Groups: to create and manage the groups assigned to the Partner.
- VFS: to configure the VFS the Partner will access.
- File Resources: to set any stream processing to be performed on received or sent data.
- Connection Contracts: to define the mapping between a User/Group, a Local Server and a Virtual File System. There can be one and only one Connection Contract for each Actor (i.e. Company, Partner or Application).
- Client Connection: to set client connection parameters - including security configuration.
Let's see them in more detail in the next sections.
Updated 9 months ago
