Matching Criteria
Matching criteria are groups of rules that are applied to monitored flows to transform them into dataflows. Multiple matching criteria can be defined and each group of criteria can be applied to a specific node. It is up to you to decide whether each group must be searched in AND (all rules must be matched to recognize the model) or in OR (only one rule is enough to recognize the model). The set of rules inside each group of matching criteria is always searched in AND. Matching criteria are defined by going to Design → Dataflow Models → New or Edit → Dataflow Properties panel → Matching Criteria icon.
Remember that at least one Matching Criteria is required to create a Model!
To create a new Matching Criteria, a node must exist on the Dataflow Modeler.
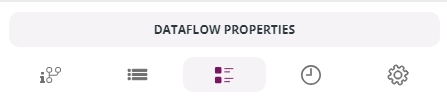
Go to Dataflow Properties and click the Matching Criteria icon. Then:
Click on the NEW button and the New Matching Criteria window will open.
Enter a Name for your matching criteria and select whether the criteria will be enabled (default) or disabled upon creation.
Select the Node your criteria will be associated with and the Groups section will appear.
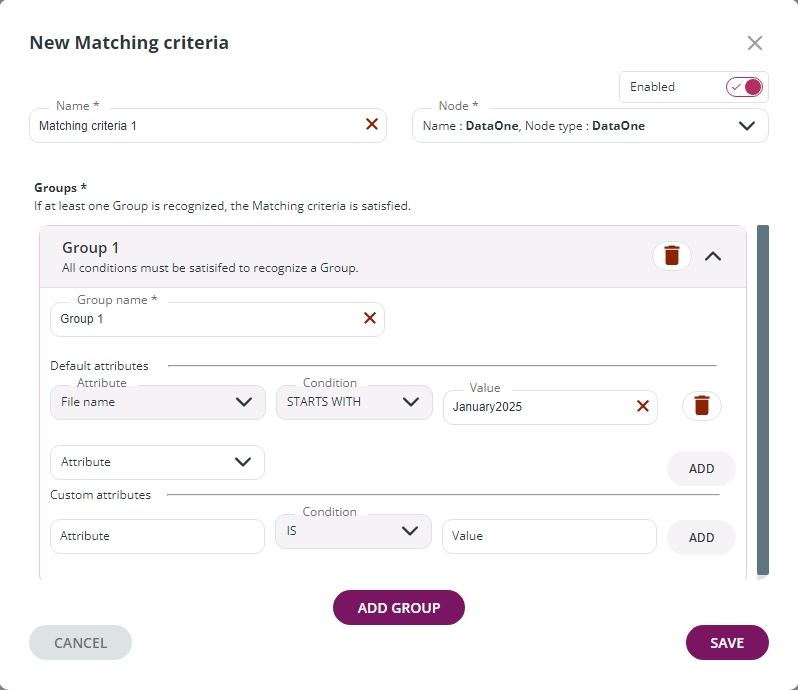
Define a Group Name or leave the default name.
You can add Default attributes to your group by selecting the Attribute (i.e. the type of attribute that will be searched for in the monitored flows), the Condition, and the Value.
Click ADD to save the attribute.
You can also add Custom attributes. Custom attributes may be useful when flows are managed by external agents and are not subject to standard attribute rules.
Click on the ADD GROUP button to add as many groups as you need.
When all the options are set, click on the SAVE button.
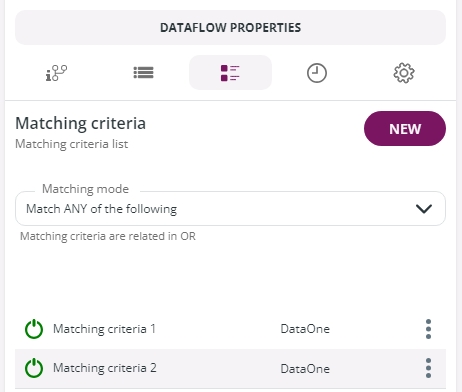
Once you have created a new Matching Criteria, this will appear in the Matching criteria list section of the Matching Criteria panel. By clicking on the 3 dots icon at the end of each result, you can Disable, Edit or Delete the Matching Criteria. The results in the list are related following the rules set in the Matching mode drop-down list:
Match ANY of the following: only one rule is enough to recognize the model. Matching criteria are related in OR. This is the default option.
Match ALL of the following: all rules must be matched to recognize the model. Matching criteria are related in AND.
Last updated