# Calendar tab
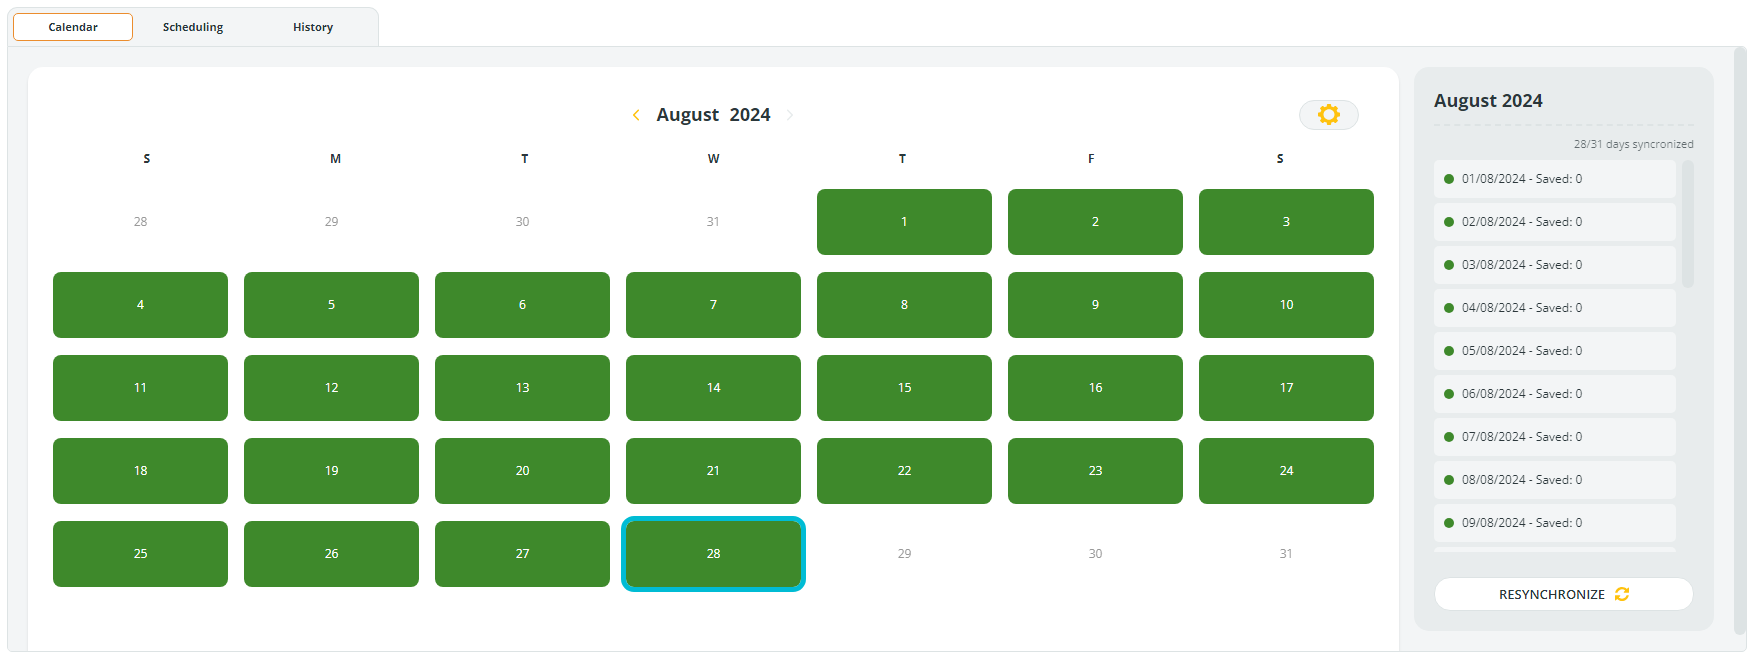
The main area of the **Calendar** tab displays a calendar for the current month. Each day is displayed as a box. A **green box** indicates successful synchronization with Data Watcher on that date, while a **gray box** indicates no synchronization with Data Watcher.
To access the **Calendar** tab, go to **Setup** → **System** → **Calendar**.
The current date is highlighted with a blue outline, helping you to quickly identify today’s date.
You can navigate between months by clicking the < and > arrows at the top of the calendar.
On the right side of the window, a panel lists each day of the current month where synchronization has occurred.
Each entry includes the date (e.g., 01/08/2024) and a brief note (e.g., "Saved: 0") indicating the events downloaded for each individual day of the month by Data Watcher.
A green dot next to each entry confirms that synchronization was successful on that day.
The top of this panel displays the total number of days synchronized out of the days in the month (e.g., "28/31 days synchronized").
### **Synchronization actions**
#### **Synchronize the full month**
Click **Resynchronize** to reprocess the entire displayed month through today.
#### **Synchronize a gray day**
1. Select the day
2. Click **SYNC NOW**
#### **Resynchronize a green day**
1. Select the day
2. Click **Resynchronize**\
Useful when Data Watcher sends updated data for an already-processed date.
#### **Custom sync range**
1. Select **Custom Sync**
2. Choose start and end dates\
Ideal for synchronizing multiple days without processing the entire month.
 **Custom Sync**
2. Choose start and end dates\
Ideal for synchronizing multiple days without processing the entire month.
**Custom Sync**
2. Choose start and end dates\
Ideal for synchronizing multiple days without processing the entire month.